Data is a powerful thing that can help you better understand your business and customers, improve efficiency and user experience, among many other things. Have you ever wondered where the web chats were coming from? Are you data driven and see all the possibilities that come with attaining this information? By the end of this, you will also be able to identify what URL a web chat conversation originated from!
I will discuss some of the many possibilities that become available with attaining this data. One way this data could be used is for trend analysis. If you are already using a custom attribute to classify the contact reason of conversations, you can identify what contact reasons for chats are coming from specific pages of your website.
Another possibility would be to use the website to determine which queue/team conversations are routed when they come from a specific website by using a queue rule checking the website listed in the custom attribute. For example, if you have a chat inquiry that originates from https://yourwebsite.com/pricing you can route these conversations to your sales team.
The final example I will provide is using the website URL to understand the volume of conversations coming from different areas of your website and using this data to look at what improvements could be made to those pages to help customers get the answers they need without reaching out to your team. This information could also be used with proactive chat rules to initiate a proactive chat with a conversational assistant or deflection to help the customers get their answers reducing your conversation volume!
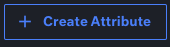
To set this up, you will need to create a custom conversation attribute to store the URL in. This can be achieved by navigating to Settings > Platform > Klasses and then selecting the Conversation Klass. Once you have drilled into the Conversation Klass you will use the + Create Attribute button
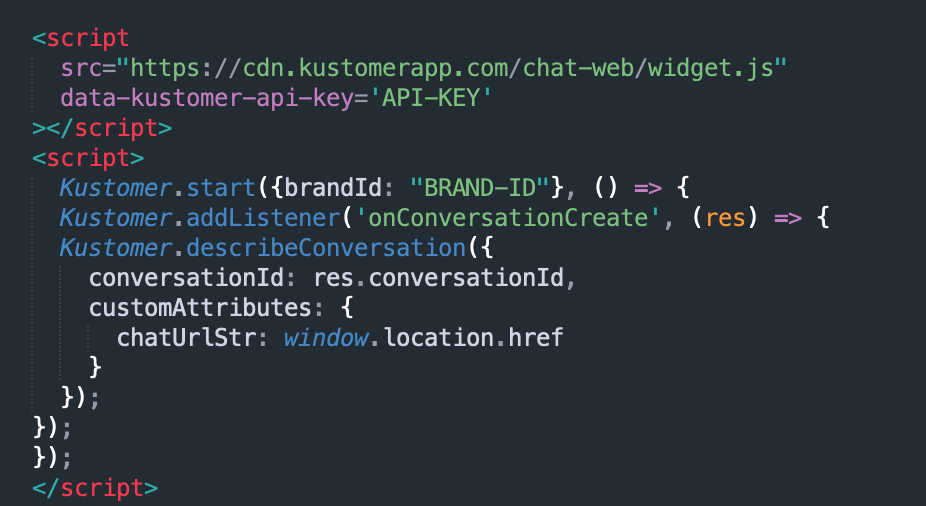
Once the attribute setup has been completed, you are ready to add the code to your chat SDK! I won’t go into great detail about this step but rather provide an example of how the chat SDK can be used to set values to custom attributes, in this case the Chat URL attribute we created. If you do have more questions or need additional help with the chat SDK/s you can visit any of our exquisite resources (Help Center, Kustomer University, Kustomer Community, or Developer Portal). Here is a screenshot of how the SDK could look and a sample code set of the SDK.
<script
src='https://cdn.kustomerapp.com/chat-web/widget.js'
data-kustomer-api-key='API-KEY'>
</script>
<script>
Kustomer.start({brandId: 'Brand-Id'}, () => {
Kustomer.addListener('onConversationCreate', (res) => {
Kustomer.describeConversation({
conversationId: res.conversationId,
customAttributes: {
customAttributeName: window.location.href
}
});
});
});
</script>
Once this has been implemented into your SDK you will now record the URL that each chat conversation originated from. Congratulations!
If you have any questions or experience any issues while implementing this, please comment below and we’ll be in touch!